You might have noticed my new blender in my previous post.
I was recently given the opportunity to test out the new Philips Jamie Oliver Blender, one of the new products in the Philips range.
I must admit that the machine I really wanted to try was the Philips Jamie Oliver Food Processor. Who wouldn’t want a machine that does purports to do everything, right? I think a blender immediately brings to mind smoothies, maybe soups, and… not much else.
But as I started to flip through my recipe books and look up recipes online to think of how to do something different with my blender, I found myself getting excited about the possibilities. And I decided to set myself a challenge: to make a 3-course meal with my blender, and throw in a drink too, for good measure.
I decided to start with dessert, mainly because I had all the ingredients available and I was most excited about this recipe which I had come across. Plus, who doesn’t love dessert?
Can you guess what we are going to make?
Hint: It’s not a smoothie, ice-cream or mousse.
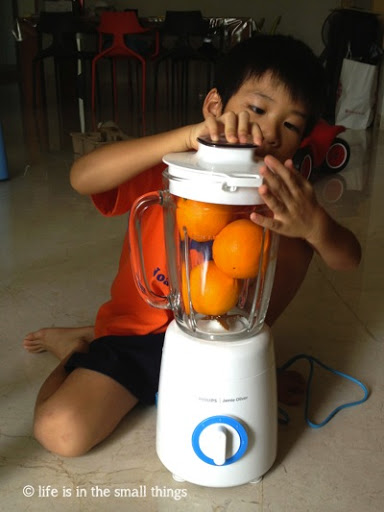
It is… AN ORANGE CAKE.
Yes, cake from a blender! How about that huh! And the main ingredient is an orange — skin, pips and all.
The recipe was simple enough that I was able to let the kids help out.
Orange Blender Cake
Ingredients:
1 large orange
1½ cups self-raising flour
1 cup sugar
3 eggs
180g melted butter
Some icing sugar (for dusting once baked)
Method:
1. Preheat the oven to 180°C. Grease a round or rectangle cake tin.
2. Cut your orange, skin and all, into small pieces. Place in the blender and whiz together till mushy.
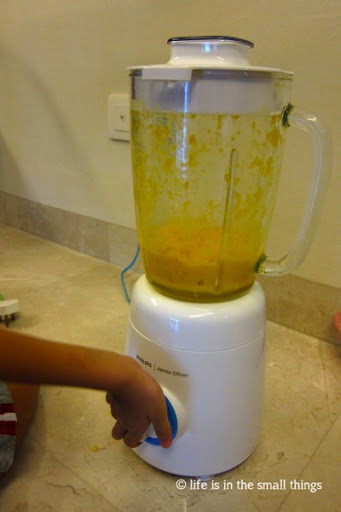
3. Add all of the other ingredients (except the icing sugar) and blend until just combined.
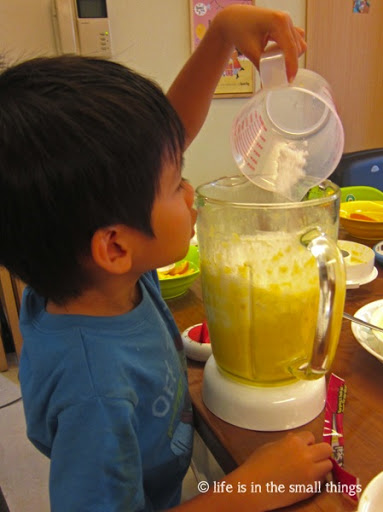
4. Pour the mixture into your prepared tin and bake for 40-45 minutes, or until a skewer inserted into the cake comes out clean.
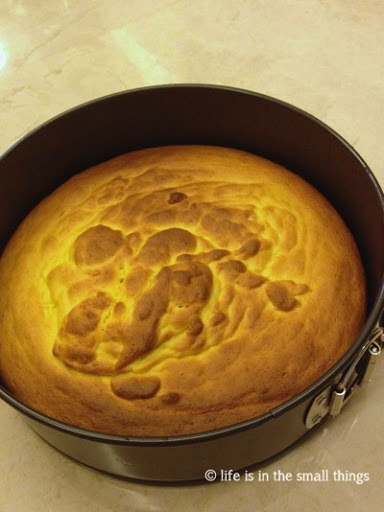
5. Dust with icing sugar and serve as is, still warm, or with a spoonful of cream, ice cream or natural yoghurt. I made a simple orange icing with mine (icing sugar + orange juice) and it was delicious.
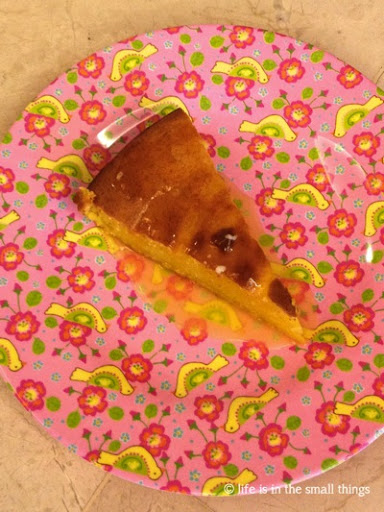
Cooking Notes:
♥ Remember not to over mix the ingredients after adding the flour in step 3. Just whizz till they are incorporated. You might wish to mix all the ingredients except the flour in the blender, then pour the mixture out into a bowl and mix in the flour separately. I found that the result was a lighter cake.
There you have it — a simple, and easy cake from the blender! Possibly the easiest cake I’ve ever made.
And a quick plug for my blender too:
I’m really liking its sturdy construction and easy, no-frills operation. It’s got a 2-litre chamber that can really hold a lot. I also like the fact that it’s glass, which I feel is better because it would be more appropriate for hot liquids, and it wouldn’t stain the way plastic does. There are 2 speeds and a pulse setting which I look forward to really putting to the test in my other recipes. It certainly made light work of my orange!
Stay tuned for the rest of my meal!
Click here to check out other posts in my Dinner-By-Blender series.
*Keep life simple with the PHILIPS | Jamie Oliver range which includes a food processor (S$268), blender (S$128) and handblender (S$108). Available at leading electronics and departmental stores.
*I was provided with the Philips Jamie Oliver Blender for review purposes and all opinions expressed herein are strictly my own.
WAH!!!! This I must try. It's like a one pot meal 🙂 thanks!
Pulp, skin and all? Wow! Good blades! Ps love your plate!
Yup, no wastage huh! Good for lazy bakers 🙂 Thanks, the plate was a gift, from Rice! It's actually Naomi's but I use it too 😛
I like this simple method! And I like your flower plate too!
Yes, it was easier than I could have imagined! The plate's from Rice 🙂
Wow! You have made it so simple. Now I really cant resist not buying the blender. Yea, it is a decision between the blender & the handblender now. Could you come out with more 1-pot stuff to convince me? :-p
Haha, I have a couple more coming up! Honestly though, if you're choosing between the two, I'd say get a hand blender. I've got one too and I love it. Of course it's what you make of the tools, but overall I think the hand blender is more versatile than a blender, and it's easier to store as it takes up less space. I use the chopper on mine for rempah, the whisk for cakes, and