I was recently talking with a friend who was asking for advice on moving kids out into their own beds (and rooms!) when it struck me that it’s been just over two years since I’ve managed to end co-sleeping with the kids. After that big move, the children have settled in nicely into their room and have been sleeping there ever since. Which is not to say that they have not crept back into our bed on occasion. In fact, it happens more often than I would like!
I’ve been meaning to properly organise their room but well, life got in the way. Plus, if you know me, you’ll know that I am a champion procrastinator. I also have a high tolerance for mess! But as the children have gotten older, the need for them to have their own space to store their own personal belongings has become more apparent. Also, some of the mess was getting a little out of hand…
I made a quick trip to IKEA, and armed with the inspiration and enthusiasm from visiting the store, I finally managed to get started and complete some projects that have been churning in my head for a while.
Here are three simple projects I embarked on, making somewhat unconventional use of IKEA’s range to spruce up the kids’ room and hopefully make it a little more functional:
1. Bedside Tables from RÅSKOG Kitchen Trolleys
I’ve been on the look out for a while for a bedside table for Noey where he can set down his small items and put away all the books that he keeps bringing to bed. I found it in the ever-popular RÅSKOG Kitchen Trolley. I love this trolley and have bought the happy turquoise version for my craft supplies. However, when I saw these now came in beige, I knew it would be perfect for the kids.
I was right — they are!
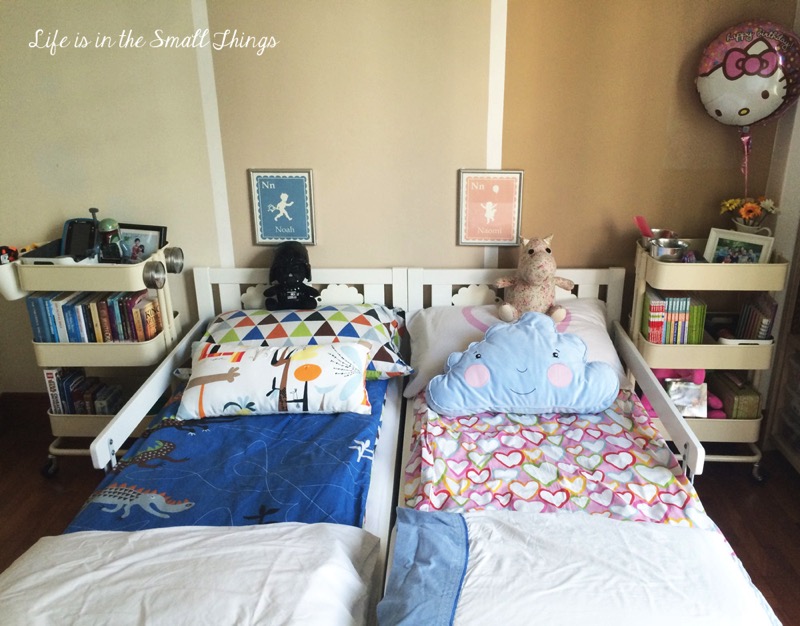 My children’s room updated with RÅSKOG trolley side tables. They are still sleeping on the KRITTER Beds, though Noey is outgrowing his soon. And how cute is that FJÄDERMOLN cloud cushion huh! Couldn’t resist picking one up for Mei while shopping!
What I like about them: Each trolley has three shelves, so there’s plenty of space for stuff. They are relatively compact, and you can easily add on to each to suit your needs. Best of all, they come on wheels so it’s easy to move them to clean behind them or when you need to reach something at the back. Here’s a closer look at each one.
For Noey’s my priorities were a space for his wallet and watch, a space for his LeapPad, and spaces for the random toys/card/books he likes to bring to bed.
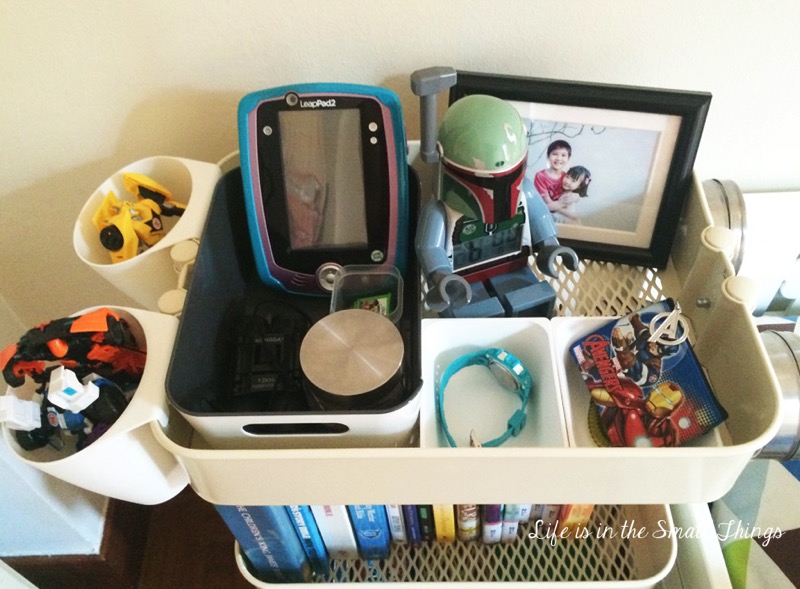 A big VARIERA box (24x17x11) and a couple of small VARIERA boxes (10x12x5) for the little things.
The great thing about the RASKOG (and indeed most of IKEA’s furniture) is that you can add on to it as you wish to meet you needs. In this case, I hooked on two BYGEL buckets to one end of the trolley for random toys. These are constantly evolving as he takes them out and changes favourites over time. At the other end, I gave him a couple of GRUNDTAL containers for small things like his crystal/rock collection and Lego bits. These containers are magnetic so they easily stick to the outside of the trolley, taking up hardly any space at all. The covers are also clear so they are visually appealing!
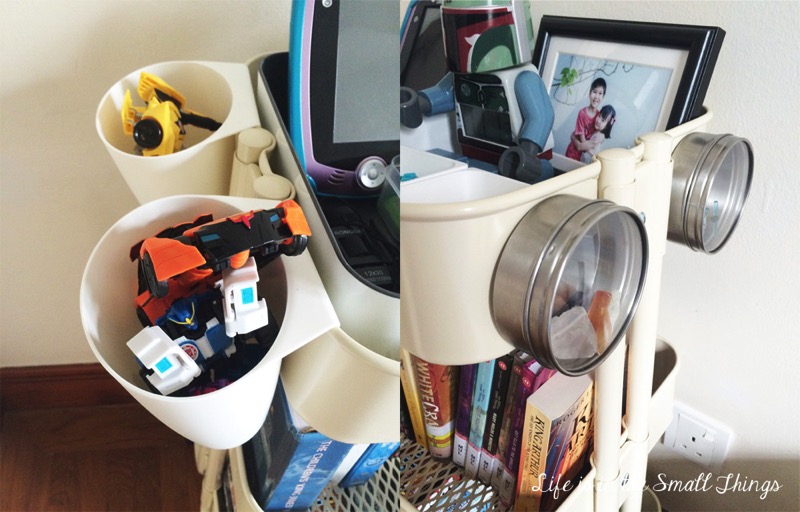 BYGEL Containers on the left, GRUNDTAL Containers (comes in a pack of 3) on the right.
On the second level sit the books. These include bedtime devotion reading, books Noey is currently reading and current library books. I like to keep the library books separately frmo our main collection so that they are easy to locate when it comes time to return them. We’ve left the bottom shelf fairly empty for now, with just a container of collectibles and some of the board and card games that we’ve been playing recently for easy access. I’m keeping it flexible and leaving space for Noey to place some of his latest projects/interests.
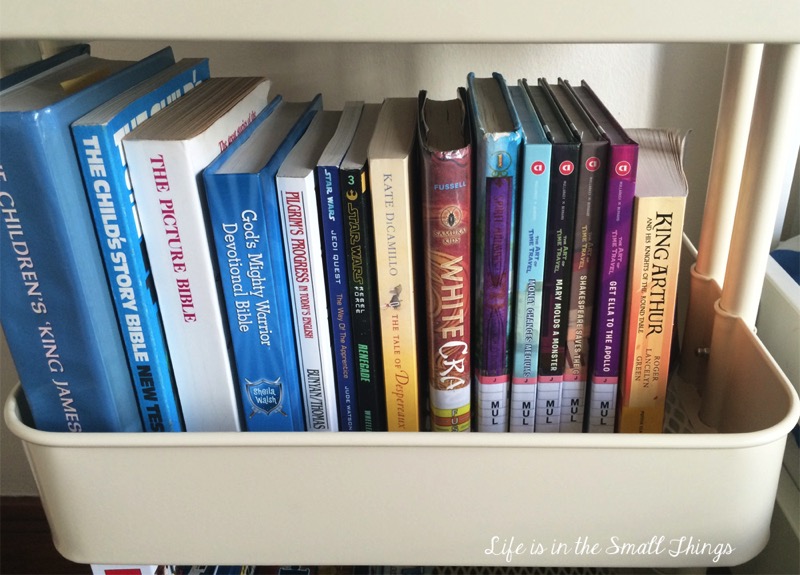 Some current reads on the second shelf.
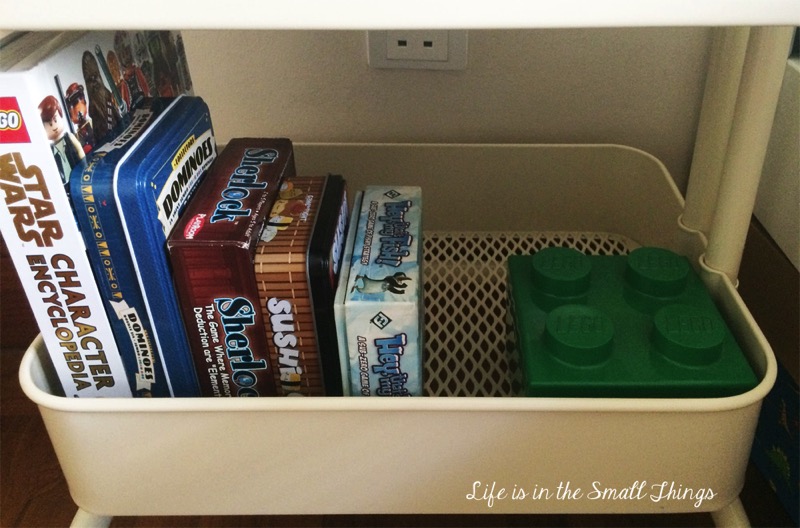 Some of our favourite games (from myfirstgames.sg) but mostly space for future projects.
It’s much of the same on Mei’s side, save that she doesn’t have as many things to organise so there’s more space to prettify her spot, something she appreciated!
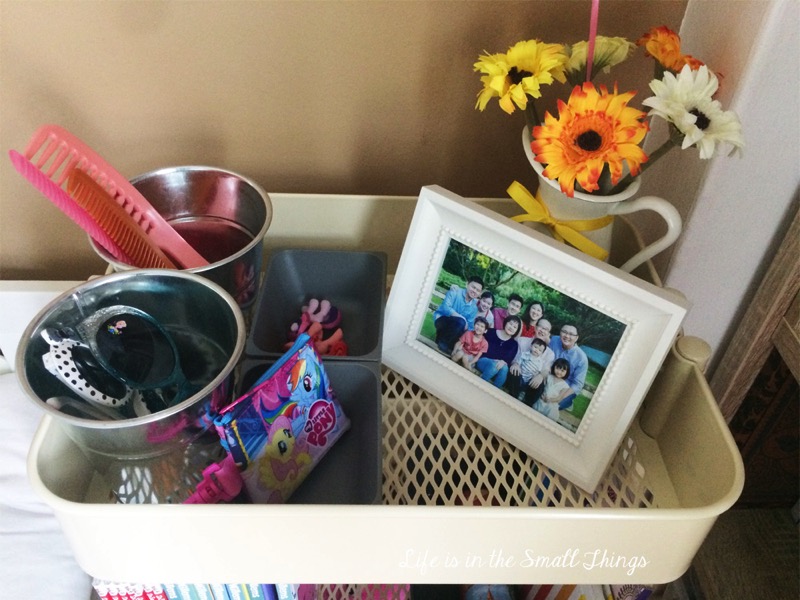 A couple of FINTORP cutlery stands for tall storage, and more small VARIERA boxes (10x12x5), in grey this time, for knick-knacks. Brightened with a SOCKERÄRT vase and SMYCKA gerbera flowers.
The rest of her shelves are filled with books, some writing and colouring materials because she really loves to draw, and her softies!
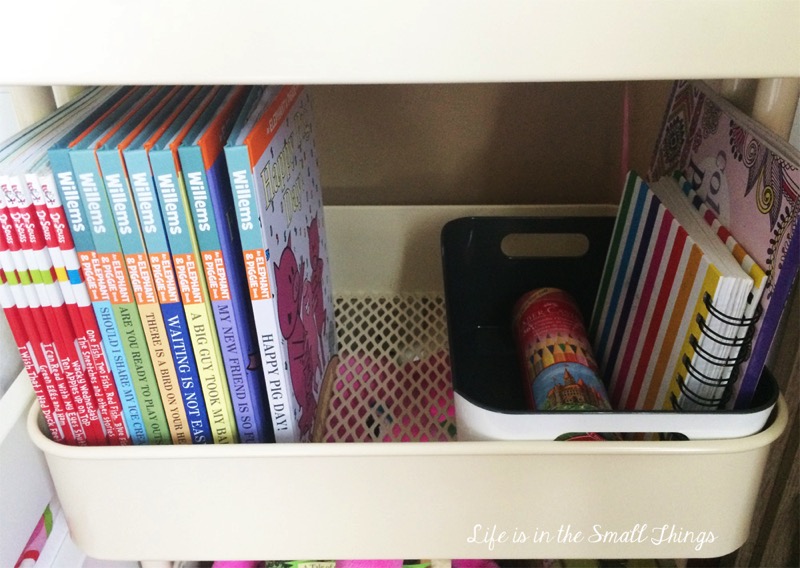 Some current favourite books with some materials for drawing in a big VARIERA box (24x17x11). The box would allow me to quickly switch things out if necessary.
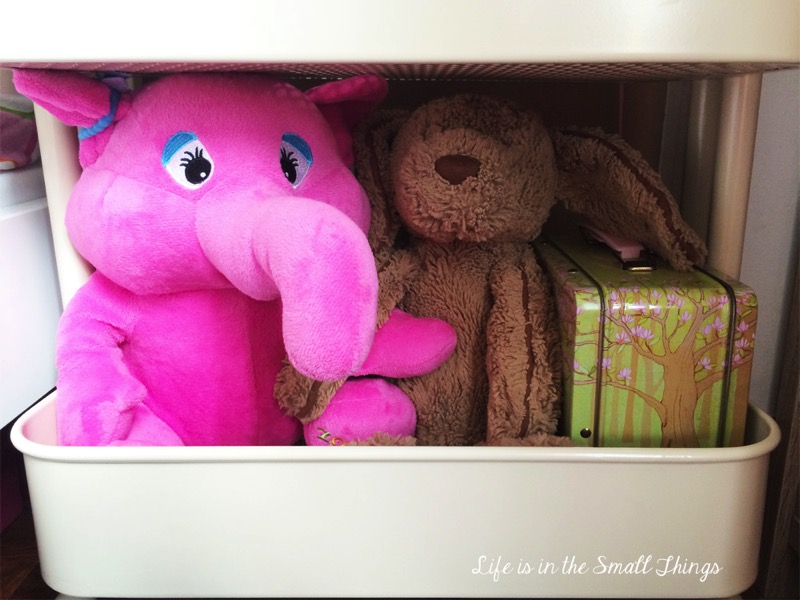 Some of her favourite cuddle pals squeeze into the bottom shelf!
I’m really pleased with how these turned out and the children and I are really loving their new bedside storage spaces!
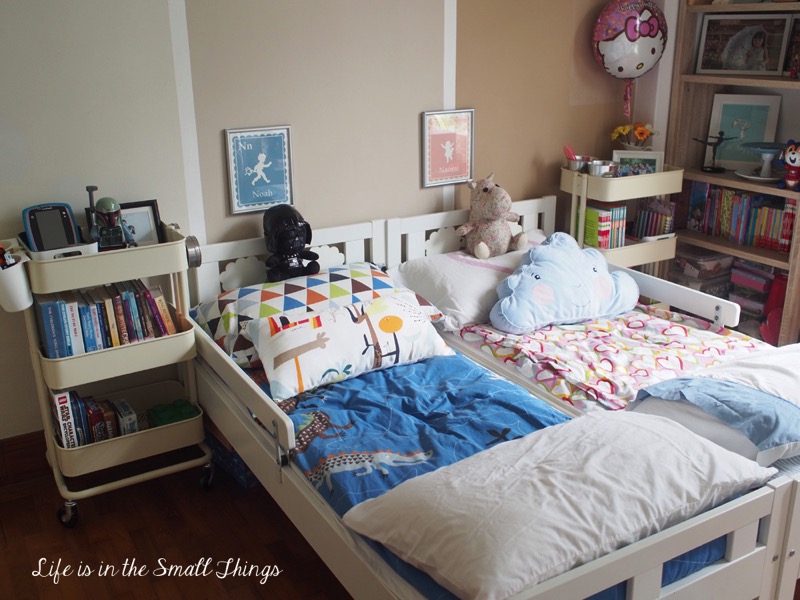 A room for two munchkins.
2. Hairbow Organiser from a VIRSERUM Frame
Organising my daughter’s hair accessories has been something I’ve also been meaning to do for a while. I got some bead boxes for the smaller clips and rubber bands but the big bows were sadly sitting squashed together in a box. And when things are out of sight, they really are out of mind. I found that we rarely used them because we forgot they were there!
So I decided to put together a simple frame where the pretty bows could be organised and visible too. All it took was a nice frame — I used IKEA’s white VIRSERUM frame — some pretty paper and some nice ribbon.
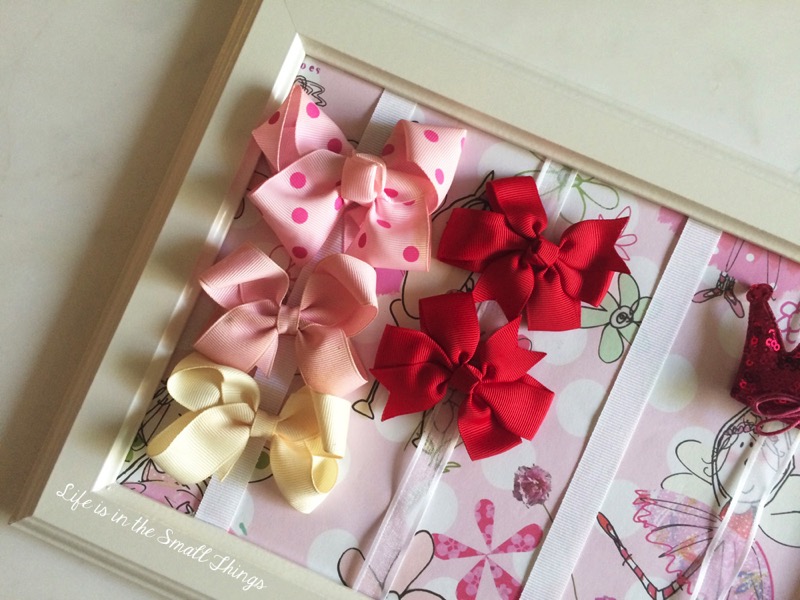 Simple Hairbow Organiser frame using the VIRSERUM frame.
How To: Remove the glass from the frame and cover the backing board with nice paper cut to size. If your paper has prints of different designs and sizes like mine, I found it useful to position and trace out the shape of the backing board on the back of the paper before cutting it to ensure that you’ve got the design that you want nicely aligned. Cut the paper and tape it down to the back of the backing board with double-sided tape. Measure out some lengths of ribbon making sure you have a good overlap. Loop the ribbon roun the backing board and tape the ribbon onto itself using double sided tape. Strengthen with strong glue (like UHU) thereafter. I prefer not to glue the ribbons down to the frame as it allows them to be moved to suit the sizes of the bows. Adjust the ribbons, fit the backing board back into the frame and your hairbow frame is ready for use!
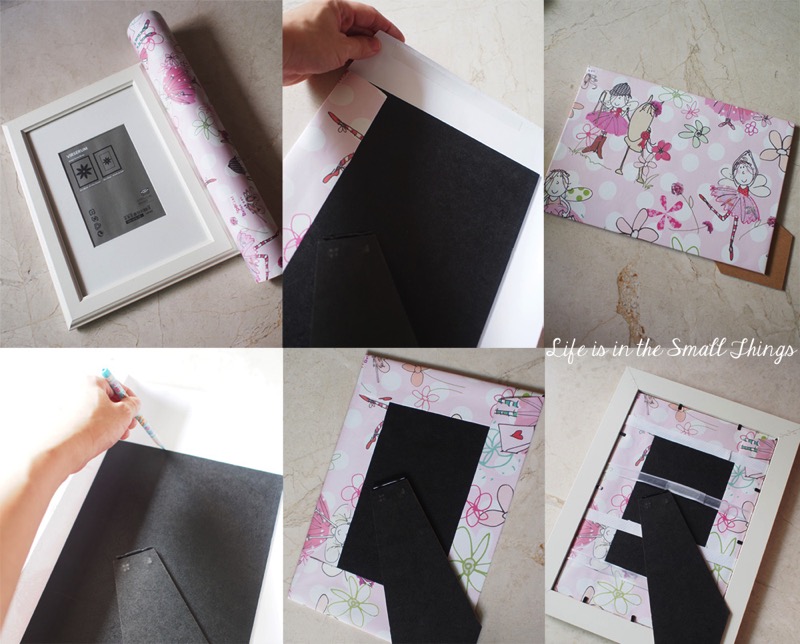 Steps to making a Hairbow frame!
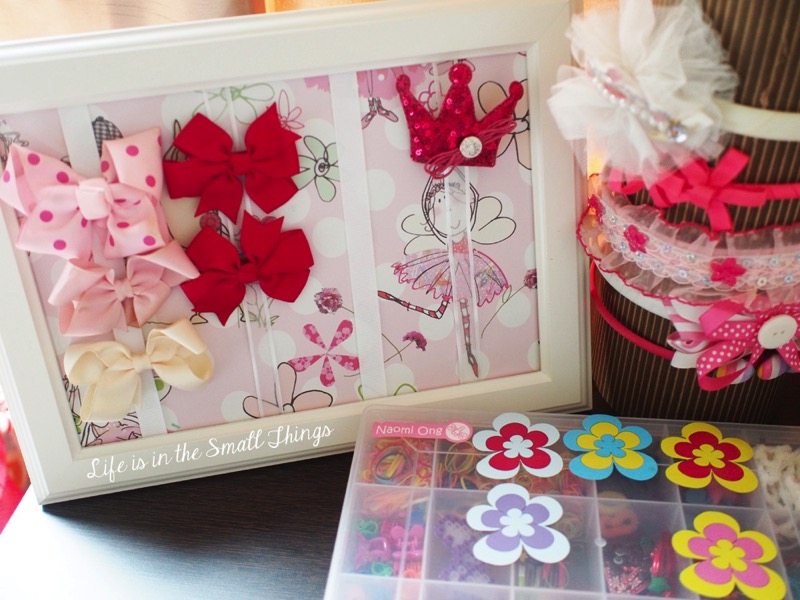 Stand it or hang it when you’re done. It makes a lovely decorative piece! Paired with my plastic bead box for small clips and rubber bands from Daiso, and a hairband stand created from a cylindrical tube that contained my Melissa shoes.
3. Jewellery Holder with FÄRGRIK and ARV Side Plates and PASKYNDA Egg Cup
This idea was one that came to me while I was browsing around IKEA. I had been trying to think of a way to sort some of my daughter’s jewellery, most of which was hung on a stand so full, everything was tangled together. I wanted to spread things out and a separate jewellery holder of some sort seemed like a good idea. Then I saw the PASKYNDA Egg Cup and a light bulb went off in my head.
I was conveniently in IKEA’s dinnerware section, so I went a-shopping for two plates. Then armed with the egg cup, plates and some strong glue, I came up with this simple tiered jewellery holder.
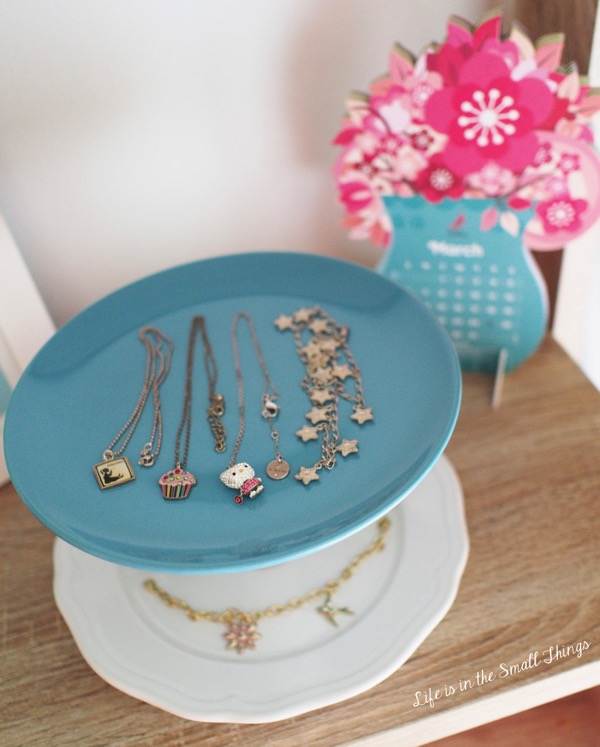 New DIY jewellery holder!
A little frivolous, but I love it! You can virtually do this with any two plates with the help of a trusty egg cup, but I picked the FÄGRIK and ARV side plates because I liked their size and the fact that the ARV was very slightly larger than the FÄRGRIK which I think is aesthetically more pleasing. The best part was that it cost me less than $8 for everything! I think I need to make one for myself too!
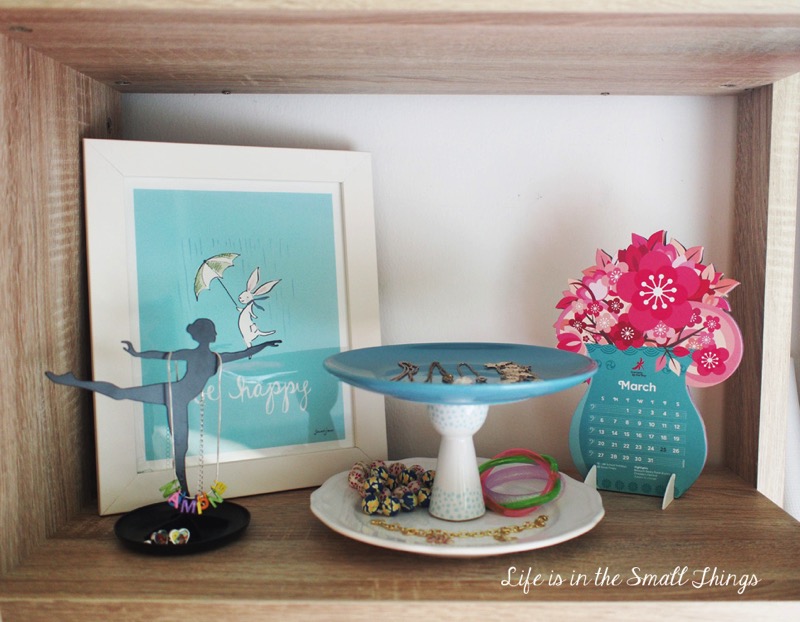 Organise your jewellery with the help of two plates (FÄRGRIK and ARV side plates) and an egg cup (PASKYNDA).
With a bit of effort, I’m glad to say the kids’ room is starting to look good. Maybe it’s time to move on to my own room… though I think I’d need more time to psych myself up for that project!
Happy weekend everyone!
*This post is the third in a series of posts sponsored by IKEA. All ideas and opinions are my own.
Now, that’s a fabulous idea… RÅSKOG Kitchen Trolleys as bedside tables! I’m gonna “steal” the idea for our new home. The little girl is going to have her own bedroom and only God knows how many stuff she has by her bed now 😀
Thanks! Yes, the trolleys are great. And I know what you mean, stuff just accumulates! Have fun decorating!
Welcome onto the hop! Oh I love the Jewellary plate idea 🙂 what creative juices you’ve got there!
Noey’s tray looks like a robot either that pair of metal magnetic eyes! How cool. IKEA has such smart designs!
Haha, I never noticed the “eyes”! Walking around Ikea was actually rather inspiring — the ideas started coming!
Nice bedroom! We made the children sleep in their room but my younger child would still come to my bedroom in the middle of the night!
Mine still come over to my room, alas! At least they are good about going to bed in their own room now, and they are terribly pleased to have more space for their stuff.
I love the DIY Hairbow Organiser! So practical yet so pretty. They make very lovely gifts too for little girls. Thanks for sharing these creative IKEA hacks.
Thanks for the love, A! Good idea about the gifts. Maybe I should make a few for some birthdays we have coming up!
Such a beautifully organised kids room and all the racks are pretty good to keep the small stuff.
I love IKEA’s kitchen trolley. I bought one for my son too! but it is not as neat looking as yours. He has used it to keep his books and bags. 🙂 Like your DIY ideas. very nice!
Haha, that’s because I packed the trolley, not him! Give it a couple of days or weeks, and well, I’m sure it won’t be neat anymore! I think these trolleys are very functional, nice to hear that your son uses one too 🙂
Love the diy options from IKEA, looks nice, neat and affordable too.
Would love to impress my Mrs and girl with your diy jewellery holder (egg cup!)
cheers, Andy
(SengkangBabies)
Haha, Andy! So sweet of you to think of impressing your wife!
I think using those trolleys as bedside tables is GENIUS! And your daughter has more jewellery than me.. haha!
OMG I have been lusting over the Raskog trolleys but I don’t know where I can use them in. Using it in the bedroom seems amazing! I love IKEA as well, 80% of the furniture in my kids’ room are from IKEA!